AI Tips Potty Training: Smarter Guidance for Parents (Digital Guide + Checklist)
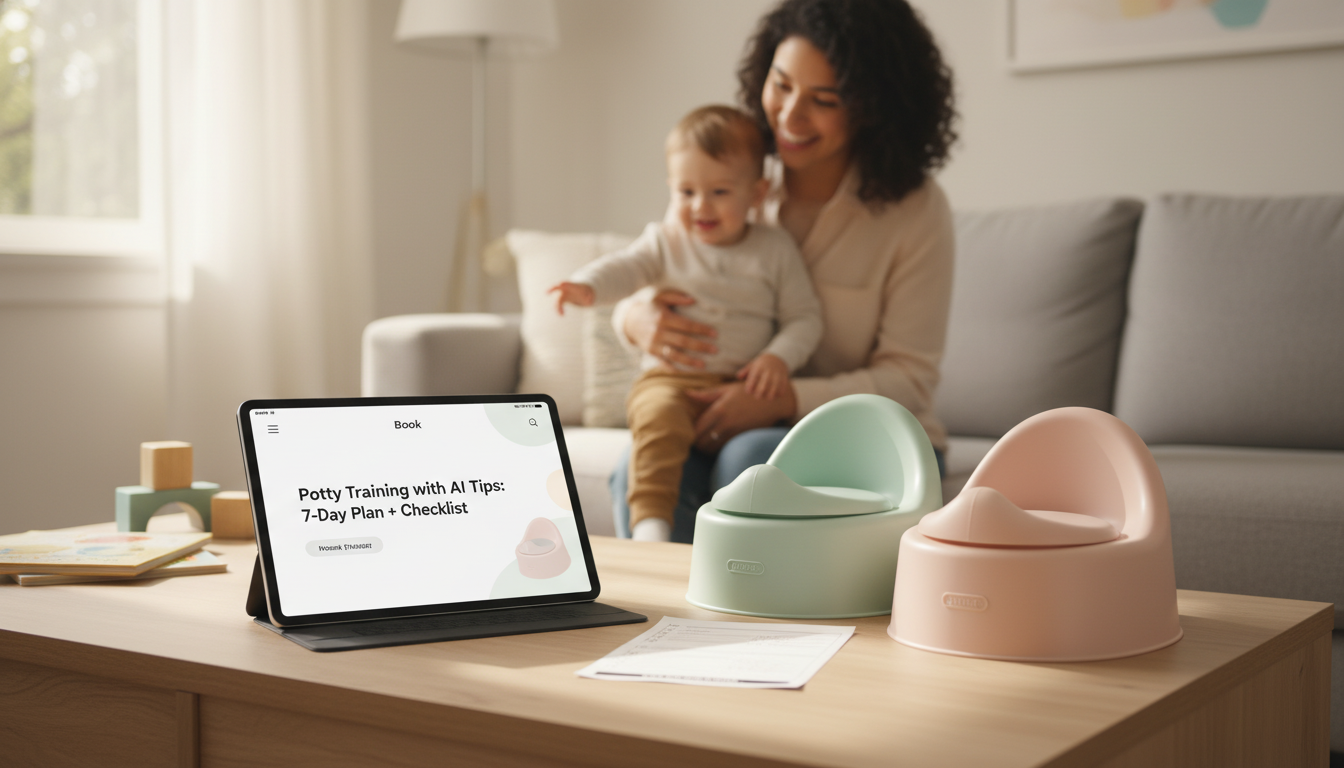
Potty training is equal parts timing, routine, and calm follow-through. A step-by-step plan helps parents spot readiness, set up an easy environment, choose a simple approach, and handle setbacks without turning toileting into a power struggle. If you want a clear path you can follow day by day, the AI Tips Potty Training digital guide and printable checklist keeps the essentials in one place—so you can stay consistent even when life gets busy.
What “smarter guidance” looks like during potty training
- Focus on patterns instead of guesswork: notice when accidents happen, what triggers them, and which prompts help.
- Use short, consistent language: the same words for pee/poop, the same cue before sits, the same quick routine after.
- Aim for progress, not perfection: fewer accidents, quicker recovery after misses, and willingness to try are meaningful wins.
- Build a feedback loop: observe → adjust timing → praise effort → simplify again if resistance grows.
- Keep expectations age-appropriate: daytime skills typically come before nights, and regression is common during change.
Readiness signs that matter (and a few that don’t)
Readiness isn’t a single milestone—it’s a cluster of physical, emotional, and routine-based signals that make success more likely.
- Common readiness signals: staying dry for longer stretches, noticing a wet diaper, hiding to poop, showing interest in the toilet, and following simple directions.
- Physical readiness: can sit down and stand up safely, can pull pants up/down with help, more regular bowel patterns.
- Emotional readiness: tolerates brief waits, responds to praise, and can recover from small frustrations.
- Less reliable signals: a specific birthday, pressure from daycare timelines, or comparisons to other children.
- If constipation or painful stools are present: address that first—training is much harder when toileting hurts.
Quick readiness check
| Sign |
What it may look like |
What to do next |
| Stays dry 1–2 hours |
Diaper often dry between changes |
Start scheduled sits (every 60–90 minutes) |
| Shows awareness |
Stops play, squats, or tells you after |
Teach a simple cue word and prompt quickly |
| Can follow 1-step directions |
“Sit down” / “stand up” |
Practice bathroom routine without pressure |
| Comfortable sitting |
Sits on potty 1–2 minutes |
Use a stool, books, or a short song to build tolerance |
| Regular poop pattern |
Predictable time of day |
Add a sit at the usual time to prevent poop accidents |
Set up the bathroom for easy wins
- Choose equipment: a floor potty or a seat reducer; add a sturdy step stool so feet feel supported.
- Create a “bathroom path”: clear access, quick-remove bottoms, and a laundry spot for wet clothes.
- Stock calm essentials: wipes, spare underwear, plastic bags for outings, and a simple handwashing routine.
- Use visual cues: a small picture chart (pants down → sit → wipe → flush → wash) helps toddlers predict what happens next.
- Keep rewards simple: specific praise (“You sat and tried!”) and optional small motivators that fade over time.
Timing is part of the setup, too. A quiet, easy-to-see clock can support consistent “sit times” without turning the day into constant reminders. If you like a visual time anchor in shared spaces, consider the Irregular Beveled Mirror Wall Clock with Roman Numerals – Silent Quartz Movement for a low-noise routine cue.
A flexible 7-day starter plan (adjustable for your toddler)
- Days 1–2: build comfort—practice sitting fully clothed, then with pants down; keep sits brief and upbeat.
- Days 3–4: increase timed sits—after waking, before/after outings, before naps, and every 60–90 minutes.
- Days 5–6: teach self-initiated steps—prompt the cue (“Tell me ‘potty’”) and guide to the bathroom quickly.
- Day 7: practice real-world runs—short errands with planned bathroom breaks and a backup outfit.
- If resistance spikes: reduce intensity for 24–48 hours and return to easier steps rather than escalating pressure.
Sample daily rhythm
| Time/Trigger |
What to do |
Why it helps |
| Wake-up |
Sit 2–3 minutes |
Catches a common “first pee” |
| Before meals |
Quick sit + handwash |
Adds routine anchors |
| Every 60–90 minutes |
Prompt + sit |
Reduces surprise accidents |
| Before leaving the house |
Try once, no forcing |
Prevents car-seat accidents |
| After returning home |
Sit + change clothes if needed |
Resets after transitions |
| Before nap/bed |
Calm sit + bedtime routine |
Builds consistency (night dryness comes later) |
Handling accidents and setbacks without derailing progress
For general medical and developmental guidance, reputable overviews from the American Academy of Pediatrics and the Mayo Clinic can help you sanity-check what’s normal.
What’s inside the digital guide and printable checklist
When to pause and ask for medical advice
FAQ
What age is best to start potty training?
Readiness matters more than age, and many toddlers show readiness sometime between 18–36 months. Look for patterns like longer dry stretches, interest in the toilet, and the ability to follow simple directions, then start with low-pressure practice.
How long does potty training usually take?
It varies widely: some kids pick up daytime basics in a few days, while others need weeks of steady routines. Nighttime dryness often takes much longer and can depend on development rather than practice.
What should be done if a toddler refuses to sit on the potty?
Back off pressure and rebuild comfort with very short, positive practice sits and simple choices (which potty, which book). Check for constipation or fear triggers, then return to a gentle schedule once your child is calmer.
Recommended for you




Leave a comment
You must be logged in to post a comment.