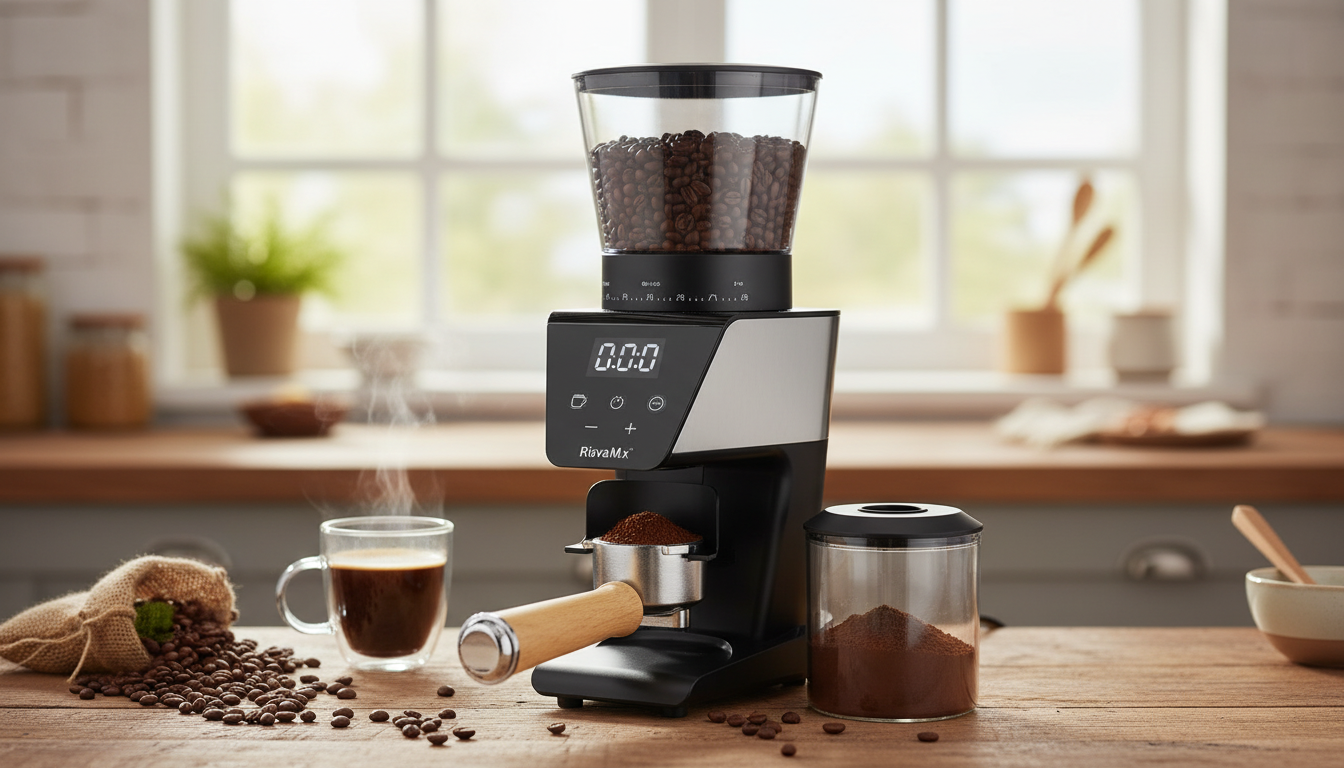
A consistent grind is one of the fastest ways to improve flavor, whether you’re pulling espresso-style shots, dialing in pour-over, or filling a drip machine for the morning rush. The Automatic Conical Burr Coffee Grinder with 30 Settings and LCD Timer pairs a wide grind range with a simple timer so you can repeat a dose and grind size day after day with less guesswork and less mess. Instead of chasing “perfect,” the goal is dependable: a baseline that tastes good, then small adjustments that are easy to track.
Unlike blade grinders that chop beans unevenly, burr grinders cut coffee between two precisely shaped surfaces. That single change—uniformity—can shift a cup from “random” to reliably balanced.
If you like understanding the “why” behind these taste changes, resources from Barista Hustle do a great job explaining extraction and how grind impacts it.
Thirty settings sound like a lot until you treat the numbers as reference points, not grades. A useful approach: start near the middle for a new coffee, then let brew time and taste guide the next step.
| Brew method | Suggested setting range (1–30) | What to watch for | How to correct |
|---|---|---|---|
| Espresso-style (pressurized basket/moka-adjacent) | 1–6 | Flow too fast, thin crema/foam, sharp taste | Go finer 1–2 steps or increase dose slightly |
| AeroPress | 7–12 | Brew finishes too quickly, underdeveloped flavor | Go finer or steep longer |
| Pour-over (V60/Chemex-style) | 10–18 | Drawdown too fast/slow; muted clarity | Finer to slow; coarser to speed up |
| Drip coffee maker | 14–22 | Watery cup or over-extracted bitterness | Finer for strength; coarser for bitterness |
| French press | 22–30 | Sludge and harshness; difficult plunge | Go coarser and reduce agitation |
A built-in timer is a practical middle ground between eyeballing and weighing every dose. It won’t be perfectly weight-accurate across all coffees, but it can be impressively consistent for a given bean and setting.
For approachable brewing guidance (ratios, basics, and common variables), the National Coffee Association has clear, beginner-friendly references.
Great coffee is often just good habits repeated. A few small steps can reduce mess, improve consistency, and keep flavors brighter.
Old coffee oils and trapped fines can dull flavor over time. Keeping the grind path clean helps the grinder run smoothly and keeps yesterday’s grounds out of today’s cup.
| Detail | Value |
|---|---|
| Product | Automatic Conical Burr Coffee Grinder with 30 Settings and LCD Timer |
| Price | 174.32 USD |
| Availability | In stock |
No—numbers are best treated as reference points. Burr alignment, manufacturing tolerances, and even the coffee itself can shift the “real” grind size, so use brew time and taste to dial in within a suggested range.
It’s consistent for the same beans and setting, but it won’t be perfectly weight-accurate across different coffees. A quick calibration weigh-in when you open a new bag (plus occasional checks) keeps results steady.
For most home use, brushing out the chute and surrounding area weekly helps, with a deeper burr clean about once a month (or every 1–2 months for lighter use). Avoid water unless the manual allows it, and run a small purge dose after reassembly.



Leave a comment
You must be logged in to post a comment.