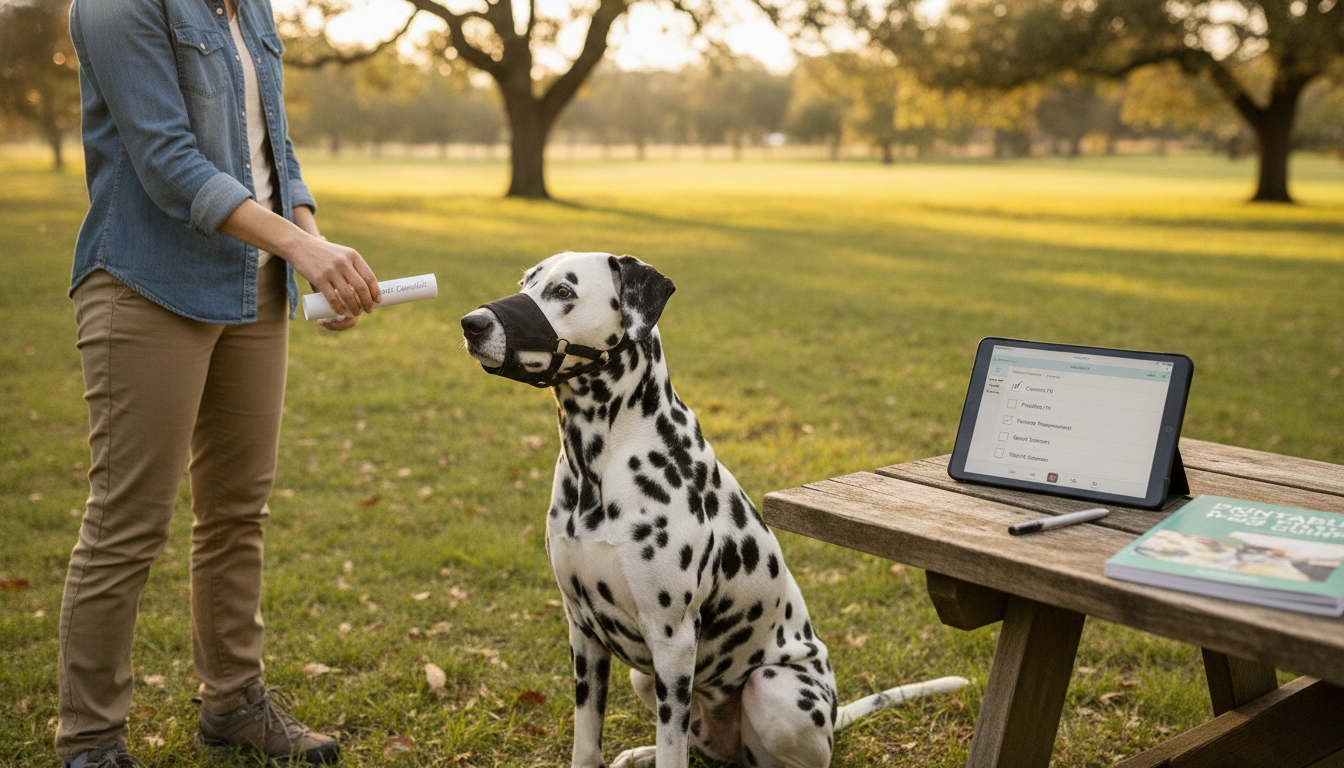
A head halter can be a helpful management tool for dogs that pull, lunge, or struggle to focus on walks—but only when it’s introduced carefully and used with the right handling. The goal is safer, calmer practice while you teach real loose-leash skills, not a shortcut that relies on force. Below is a practical checklist to help you decide whether a head halter fits your situation, how to fit it correctly, and how to condition your dog to wear it comfortably.
A head halter is a head-collar that guides your dog’s nose so you can redirect their head (and therefore their body) with less leverage than a standard collar or back-clip harness. That leverage reduction is why many handlers feel an immediate difference—especially with strong dogs.
What it does not do is replace training. It’s best viewed as a short-term management aid that makes walks safer while you build loose-leash habits, attention cues, and calm exposure to the environment. Because the leash attaches under the chin, sharp leash pops or sudden force can strain the neck. Some dogs accept a head halter quickly; others need slow, positive conditioning to prevent pawing, freezing, or avoidance.
For many dogs—especially those sensitive about face handling—a well-fitted front-clip harness can be a better first choice.
If you’re unsure, consider guidance from a qualified trainer who uses humane methods. For additional perspectives on training approaches, the American Veterinary Society of Animal Behavior (AVSAB) and the American Kennel Club training resources offer helpful, general education.
Proper fit and calm handling matter as much as the tool itself. Aim for a setup that prevents rubbing, slipping, and sudden pressure on the neck.
| Checkpoint | What to Look For | Fix If It’s Off |
|---|---|---|
| Nose loop position | Sits low enough to guide the nose but doesn’t rub the eyes | Adjust sizing; ensure correct model and strap length |
| Panting and treat taking | Dog can open mouth, pant, and eat treats comfortably | Loosen nose loop slightly; re-check brand fit guide |
| Neck strap snugness | Cannot easily pull over ears; minimal rotation | Tighten neck strap; verify proper placement behind jaw |
| Leash tension | Mostly slack while walking; dog follows lure/reward | Slow down, reward position, increase distance from triggers |
| Backup connection | Second attachment prevents escape | Add a safety strap or clip to flat collar/harness |
Conditioning should feel like a simple “game,” not a wrestling match. Go at your dog’s pace, and stop sessions before frustration builds.
Use it when pulling or lunging creates a safety problem and your dog can be conditioned to wear it comfortably. It works best as a temporary management tool paired with loose-leash training, not as a quick fix.
It can be safe with proper fit, slack-leash handling, and gradual introduction. Avoid leash jerks, and get veterinary or professional guidance if your dog has neck/airway issues or panic reactions.
Some dogs adapt in a few short sessions, while others need days to weeks of slow conditioning. Progress depends on comfort with face handling, treat motivation, and low-stress practice environments.




Leave a comment
You must be logged in to post a comment.