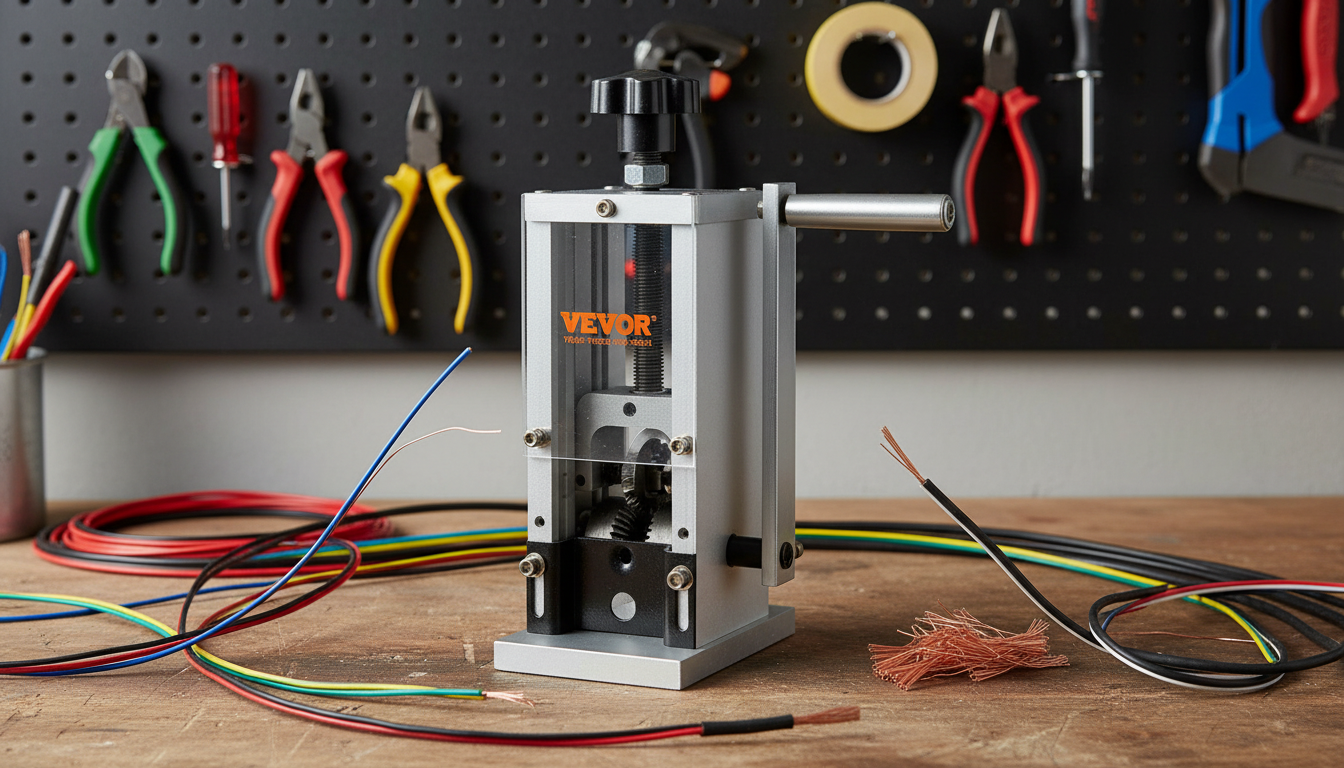
A manual wire stripping machine removes insulation from electrical wire using an adjustable blade and feed channel, helping recover copper or aluminum without nicking conductors. With the right setup, it delivers smoother, more repeatable results than improvised knife work—especially when you’re processing longer runs or mixed wire sizes. Below is a practical breakdown of how it works, where it shines, what to compare before buying, and how to operate it safely for clean slits and easy jacket removal.
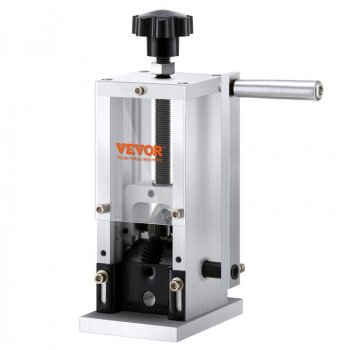
A manual wire stripping machine separates insulation from the conductor by pulling wire through a guided channel past a cutting blade. Instead of relying on hand pressure and guesswork, the machine holds the wire path steady so the blade can score the jacket consistently along its length.
Manual stripping is a strong fit when you want more control and less noise than a powered unit, but you still need cleaner output than hand tools typically deliver.
Not all manual strippers feel the same in day-to-day use. The difference usually comes down to adjustment range, stability, and how reliably the wire feeds past the blade.
If you frequently handle a mix of jacket materials (soft PVC, tougher rubberized insulation, older brittle jackets), prioritize a machine that holds adjustment settings firmly. “Drifty” depth screws and flexible frames can turn a clean slit into a jagged tear over a longer pull.
Most stripping issues come from two setup mistakes: choosing the channel based on conductor size instead of outer jacket diameter, and setting the blade too deep too quickly. Use short test pieces and make small adjustments until the jacket splits without metal contact.
| Wire type | Typical behavior | Recommended approach | Common mistake to avoid |
|---|---|---|---|
| Single-core (solid) insulated wire | Jacket splits cleanly when depth is right | Shallow-to-moderate blade, steady pull | Cutting too deep and scoring the conductor |
| Stranded insulated wire | More sensitive to nicks; jacket may drag | Keep blade shallow; confirm no strand damage | Over-tightening blade and cutting strands |
| Multi-conductor cable | Outer jacket may be thicker; inner conductors vary | Strip outer jacket first, then sort/strip inner wires | Trying to strip all layers in one pass |
| Soft PVC or flexible jackets | Can stretch and smear instead of cutting | Sharper blade, slower feed, slightly increased depth | Pulling too fast and tearing the jacket |
| Older or brittle insulation | May crack or flake | Gentle feed; minimal blade depth; eye protection | Aggressive depth causing fragments and conductor damage |
If you’re sorting wire by size (for repeatable settings), AWG references can help keep batches consistent; see general conductor sizing resources from NIST.
Yes, as long as the wire falls within the machine’s adjustment range. Choose the feed channel based on the wire’s outer diameter, then fine-tune blade depth using short test pieces to avoid conductor damage.
Stranded wire typically needs a shallower cut to prevent nicking individual strands. Solid wire can tolerate slightly deeper scoring, but the goal remains a clean slit with no contact on the metal conductor.
Common causes include a dull blade, a blade set too shallow, slipping feed/rollers, or pulling too quickly. Clean the guides, slow the pull, and increase blade depth gradually until the jacket splits cleanly.


Leave a comment
You must be logged in to post a comment.