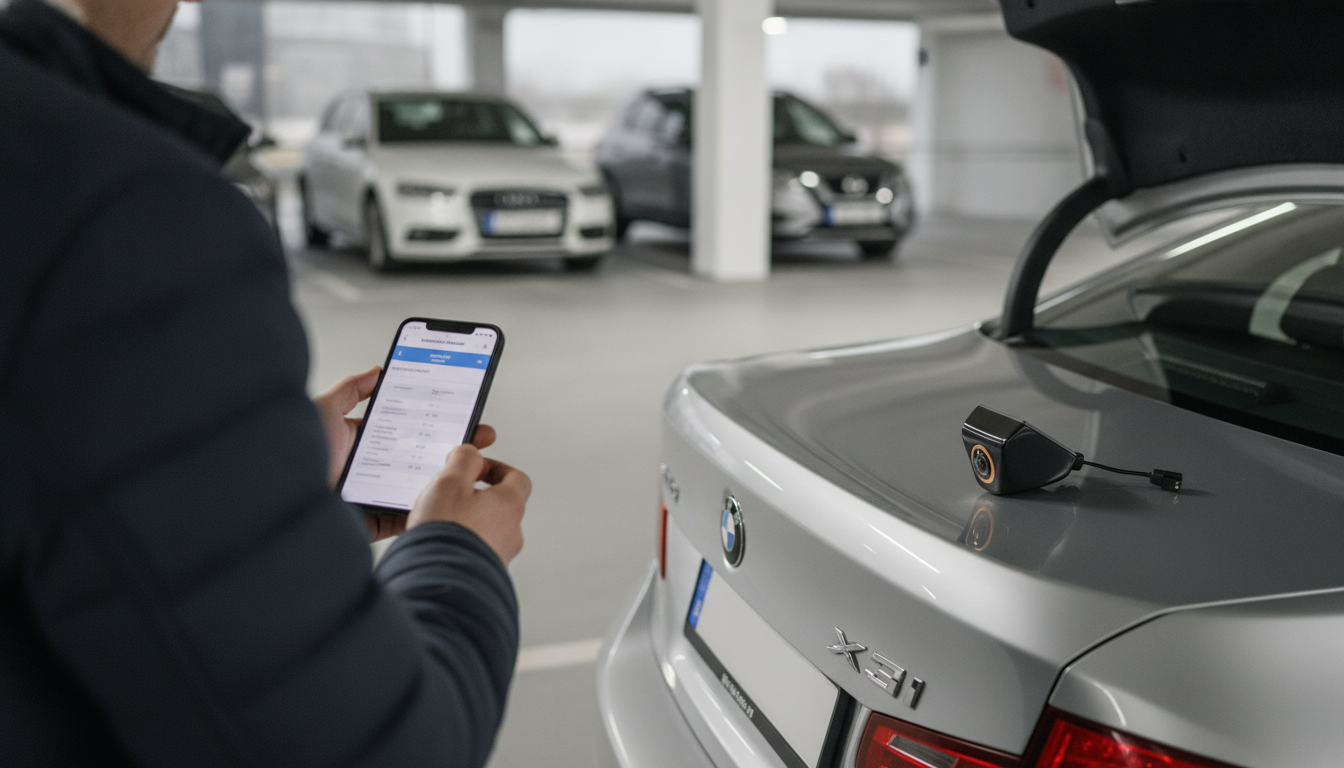
Compatibility comes down to three things: the type of factory screen you have (or if you’re adding an aftermarket display), how the camera signal will connect, and whether the kit is designed to integrate cleanly with your specific vehicle’s wiring and trim. Start by confirming your vehicle’s year, model, and head unit style (factory iDrive/MMI-style display vs. a basic radio vs. an aftermarket head unit). Those details determine what interface or adapter (if any) you’ll need.
Next, check the video format and input method. Many cameras output a standard composite video signal (RCA). If your BMW, Audi, or Nissan factory screen doesn’t accept direct RCA input, you’ll typically need an interface module or a factory-integration harness so the image can appear on the OEM display. If you’re using an aftermarket head unit, look for a dedicated “camera input” and confirm it supports the camera’s video standard (most do).
Then look at the trigger and power requirements. A proper install usually uses a reverse trigger signal so the camera automatically turns on when shifting into Reverse. Some vehicles require a CAN-bus-capable interface to generate that trigger reliably without dash errors or flickering.
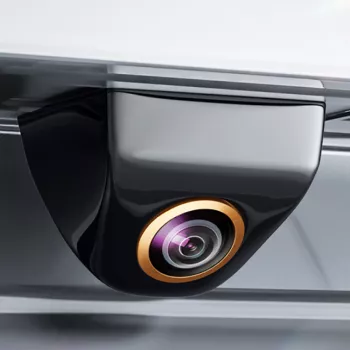
Finally, confirm physical fitment and features. Mounting style (license plate frame, trunk handle, flush mount) must match your body panel design, and options like night vision and parking lines should align with how you want to park. For a model-focused walkthrough—especially for BMW, Audi, and Nissan fitment considerations—see the full guide here: https://elevatdlife.com/guide-170-4k-rear-camera-night-vision-parking-lines-bmw-audi-nissan/.
Many cameras can display on a factory screen, but only if your vehicle supports a camera input or you add the correct integration interface. Aftermarket head units typically have a dedicated camera input, making compatibility simpler.


Leave a comment
You must be logged in to post a comment.