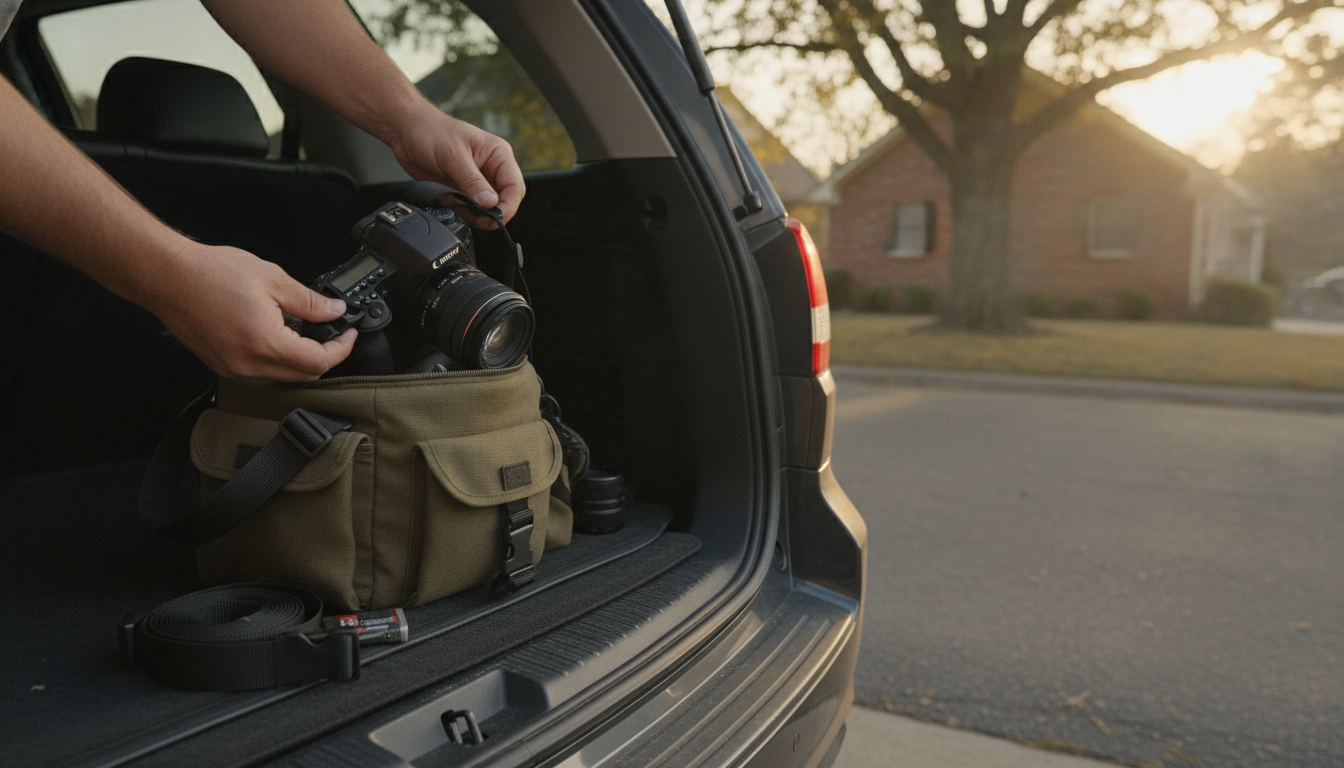
A quick release strap is designed to let you connect and disconnect gear fast—without unthreading webbing or fighting with bulky hardware. You’ll see them on camera straps, slings, wrist straps, and rigging setups where speed and security both matter.
Most quick release systems have a “male” side (the insert) and a “female” side (the receiver). Many also include a safety lock or secondary catch. Before attaching anything expensive, locate the lock and practice clicking it on and off with one hand.
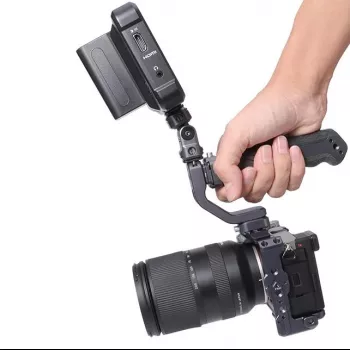
Connect the strap end to a solid anchor point: a camera strap lug, a D-ring, or a 1/4″-20 mounting point via an adapter/plate. If your setup uses a quick release top handle grip or a 1/4 mount, make sure the screw or clamp is fully seated and tightened so the anchor can’t rotate loose during movement.
Insert the male connector straight into the receiver until it clicks. Don’t force it at an angle; misalignment can prevent full engagement. If there’s a lock switch, slide it into the locked position after the click.
Pull firmly on the strap in the direction it will be loaded (down and slightly outward). Then tug again after you move the gear around your shoulder or wrist. A proper connection should not wiggle free, separate, or show gaps between parts.
Support the gear with one hand, disengage the lock (if present), then press the release mechanism and separate the connectors. Keep tension off the connector as you release—most systems are easiest to open when not under load.
For a deeper look at fast rig changes and how quick release hardware pairs with a top handle and 1/4″ mount workflow, see the full guide: https://elevatdlife.com/guide-quick-release-top-handle-grip-1-4-mount-faster-rig-changes/.
Use the safety lock if your connector has one, and route the strap so the release button isn’t pressed against your body or bag. A quick tug test after clipping in helps confirm it’s fully seated.


Leave a comment
You must be logged in to post a comment.