Clean, Consistent Fries Start with the Right Replacement Blade
Fresh-cut fries are only as good as the blade behind them. When a grid gets dull, bent, or slightly out of square, potatoes start to split, edges turn ragged, and the cutter suddenly needs more force than it should. A well-matched replacement blade set brings your fry cutter back to smooth, predictable performance—so fries come out even, cook at the same pace, and look as good on the plate as they taste.
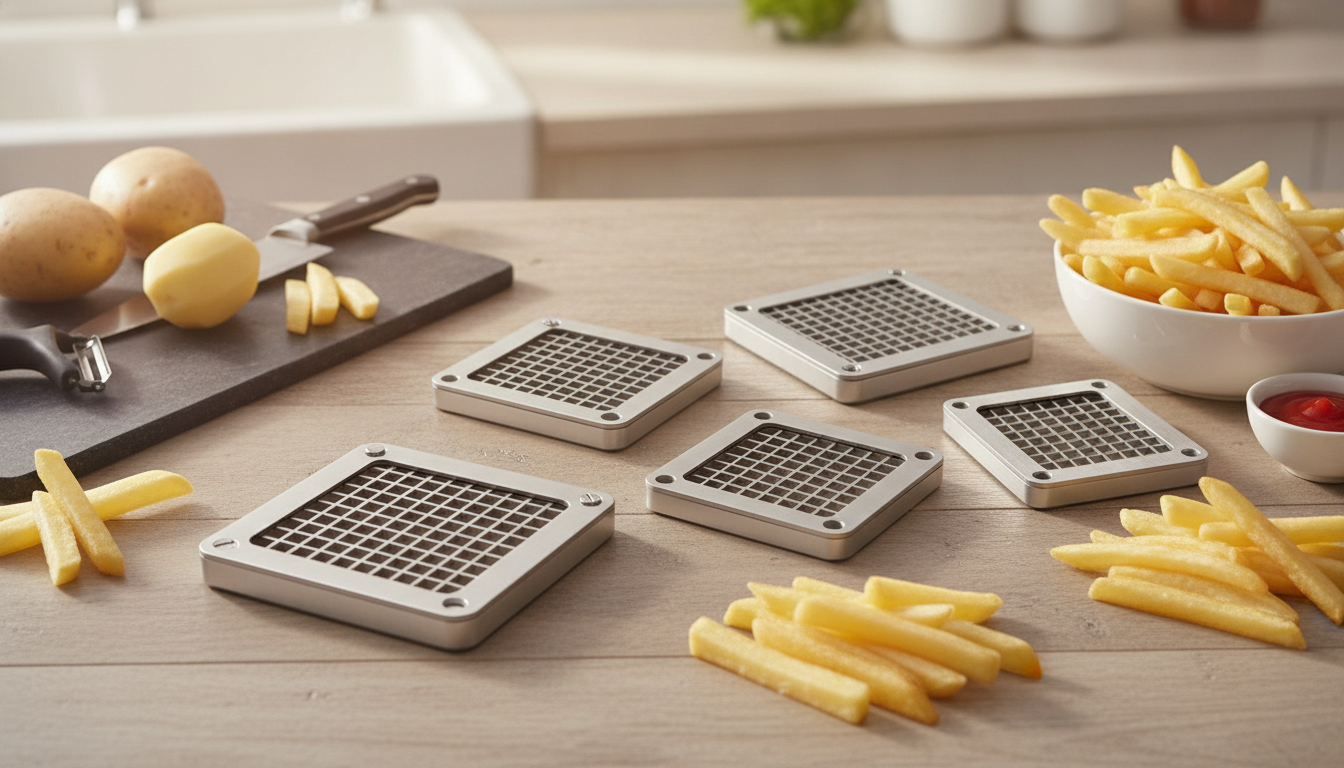
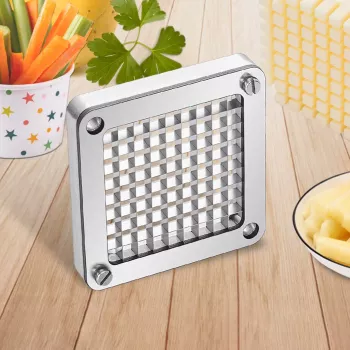
This stainless steel replacement set includes three popular sizes—3/8, 1/4, and 1/2 inch—making it easy to switch between thin fries, classic cuts, and steak fries without buying an entirely new cutter.
What a Replacement Blade Set Changes
- Restores uniform fry shape when the original grid dulls or bends.
- Reduces bruising and ragged edges that can cause uneven browning and texture.
- Improves speed and comfort by lowering the pressure needed to push potatoes through.
- Helps extend the life of the cutter body by reducing strain and jamming.
- Makes it easier to switch between fry styles without buying a second cutter.
Included Sizes and What Each One Is Best For
Cut size affects everything: cook time, crispness, interior texture, and how well seasoning sticks. Having multiple grids on hand lets you match the fry to the method—especially helpful when rotating between air frying, deep frying, and oven roasting.
- 1/4 inch: thinner fries that crisp quickly; ideal for air fryers and fast bake times.
- 3/8 inch: a balanced “standard” cut with a fluffy center and crisp exterior.
- 1/2 inch: steak fries with a hearty bite; great for double-frying or oven roasting.
- Mixing sizes helps match the cut to the cooking method and seasoning style.
- For best results, keep cook times separate when preparing multiple cuts in one session.
Fry Cut Size Guide
| Blade size |
Typical result |
Best cooking methods |
Notes |
| 1/4 inch |
Thin fries |
Air fryer, deep fry |
Crisps fast; avoid overcrowding |
| 3/8 inch |
Classic fries |
Deep fry, oven |
Great all-purpose thickness |
| 1/2 inch |
Steak fries |
Oven, deep fry (double-fry) |
Longer cook time; soak/rinse to reduce sticking |
Stainless Steel Benefits for a Fry Cutter Blade
Because fry cutter grids take repeated pressure and frequent washing, material matters. Stainless steel is a practical choice for kitchens that want reliable performance without fuss.
- Corrosion resistance for frequent washing and contact with salt and acidic foods.
- Rigid structure that helps maintain a true grid shape for consistent cuts.
- Edge retention that supports cleaner slicing and fewer crushed potato ends.
- Food-safe surface that rinses more easily after starchy prep.
- Pairs well with routine drying and light oiling to keep the grid performing smoothly.
For food-contact surfaces, consistent cleaning and proper drying help prevent buildup and keep prep safe. For general guidance on cleaning and sanitizing kitchen equipment, see the USDA FSIS cleaning and sanitizing overview and the FDA Food Code.
Fit and Compatibility Checks Before Buying
Replacement grids aren’t truly “universal.” A few quick checks prevent wasted time and ensure the new blade seats properly and cuts cleanly.
- Measure the current blade grid dimensions and compare to the cutter’s mounting area.
- Confirm the pusher block aligns with the grid openings for the selected size.
- Check how the blade is retained: screws, clips, slide-in rails, or frame tabs.
- Inspect the cutter frame for warping; a bent frame can make any new blade feel tight.
- If switching between sizes often, confirm the cutter design supports quick swapping without re-centering parts.
How to Replace and Align the Blade (Quick Steps)
- Stabilize the cutter: set it on a flat surface so it can’t tip or slide during removal.
- Remove the old grid carefully: use cut-resistant gloves if the blade is damaged or jagged.
- Clean the mounting area: remove starch buildup that can prevent the grid from sitting flush.
- Install the new blade grid: ensure it sits square and fully seated in its frame or rails.
- Test with a potato end first: if the cut pulls or wedges, re-check alignment and pusher fit before continuing.
Maintenance Tips for Smoother Cutting and Longer Blade Life
- Rinse immediately after use to prevent starch from drying in the grid.
- Use a soft brush to clear the intersections; avoid bending the grid with hard tools.
- Dry thoroughly to reduce spotting and keep frame hardware in good condition.
- For sticky potatoes, soak/rinse cut potatoes to remove surface starch and reduce clumping.
- Store the blade grid in a protected spot to prevent accidental bending.
Common Cutting Problems and Simple Fixes
Products to Upgrade Your Prep Area
Stainless Steel Replacement Blade Set (3/8, 1/4, 1/2 Inch)
FAQ
How often should french fry cutter blades be replaced?
Replace them when fries start coming out ragged, potatoes crush or wedge more often, or the grid is visibly bent. How quickly that happens depends on volume, potato type, and how promptly the grid is cleaned and dried.
Will these replacement blades fit any french fry cutter?
Fit depends on the cutter’s grid dimensions, mounting style, and pusher alignment. Measure your existing grid and check how it attaches before purchasing to avoid a mismatch.
What is the easiest way to clean a fry cutter blade grid?
Rinse the grid immediately after use, brush the intersections with a soft brush, and avoid prying with hard tools that can bend the metal. Dry thoroughly before storage to keep the grid cutting smoothly.
Recommended for you





Leave a comment
You must be logged in to post a comment.