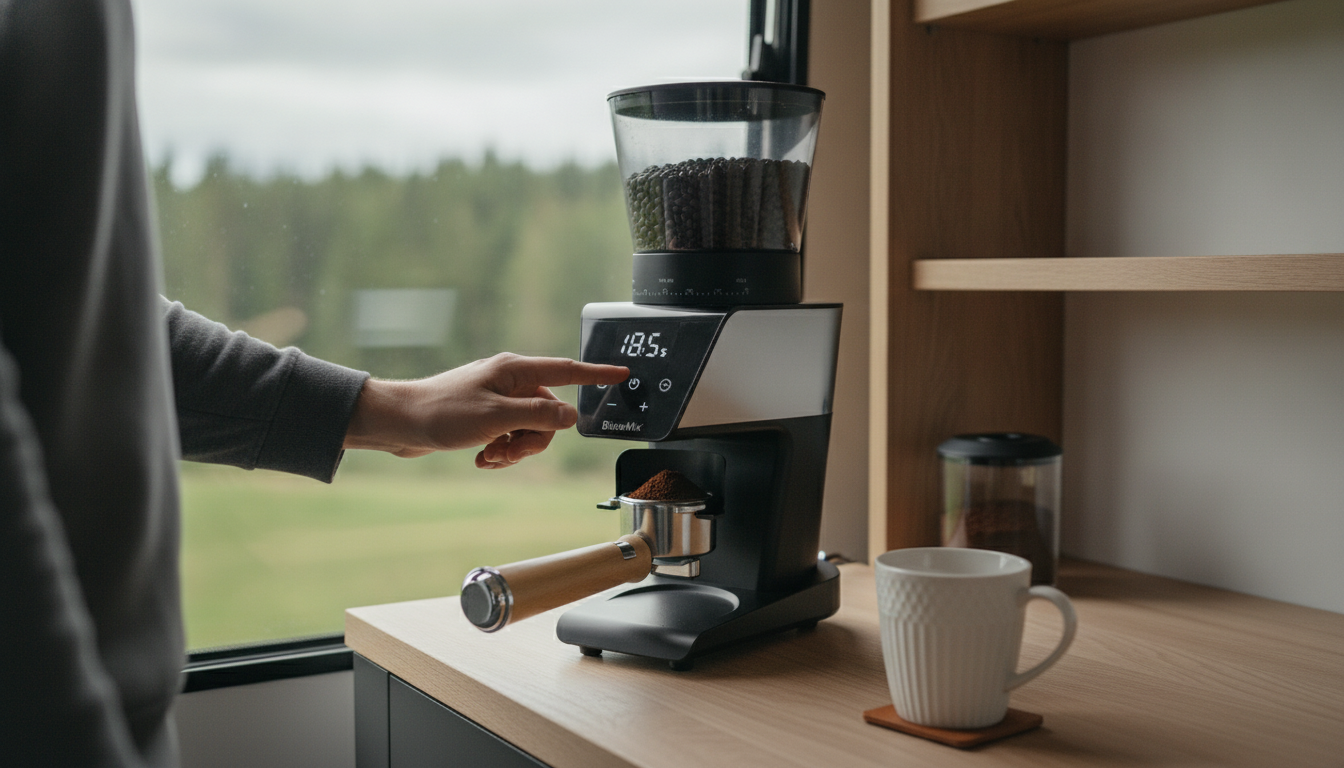
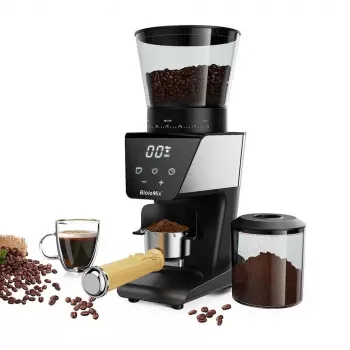
The LCD timer on an automatic coffee grinder controls how long the motor runs, which directly determines how much coffee is dispensed. Instead of measuring coffee by scoops, the grinder measures by time (for example, 6.5 seconds), so the same timed grind cycle can deliver a repeatable dose once your beans, grind setting, and workflow are stable.
To set it for a consistent dose, start by choosing the dose mode your grinder offers (commonly single and double) and assign a specific time to each. Many conical burr grinders let you adjust time in small increments on the LCD (often 0.1–0.2 seconds). For a practical setup method, follow the step-by-step timing workflow in this guide: setting a conical burr grinder LCD timer.
1) Weigh your target dose. Pick a starting goal (for example, 18 g for espresso or 30 g for filter) and use a scale the first few times.
2) Lock in grind size first. Adjust the burr setting to hit the brew method you want, then fine-tune the timer. Changing grind size changes flow rate through the burrs, which can change the grams-per-second output.
3) Run a test grind and weigh it. Grind using the current timer setting, weigh the grounds, and note the result.
4) Adjust time in small steps. If you’re under, add a little time; if you’re over, subtract a little time. Repeat until the scale consistently matches your target.
Use a similar bean fill level, since hopper pressure can affect feed rate on some grinders. Tap or shake out retained grounds if your grinder tends to hold coffee in the chute. If your beans change (new roast, different origin, fresher/older), expect to tweak the timer slightly because density and brittleness affect output speed.
Finer grinds usually slow the coffee’s movement through the burrs, so fewer grams come out per second; coarser grinds can increase output speed. After any grind adjustment, re-check your dose with a scale and re-tune the timer.

Leave a comment
You must be logged in to post a comment.